3 Rituals for Mabon
Mabon, also known as the fall equinox, is the holiday on the Wheel of the Year that descends us into autumn. On this day, as with both equinoxes, light and dark find balance — we hover, suspended, at an even keel before tipping into more darkness.When we fear darkness, this descent may feel scary. But intentionally working with the seasons and the Wheel of the Year can teach us the inherent goodness in every season, and the necessity of each point in the year.
Mabon, also known as the fall equinox, is the holiday on the Wheel of the Year that descends us into autumn. On this day, as with both equinoxes, light and dark find balance — we hover, suspended, at an even keel before tipping into more darkness.
When we fear darkness, this descent may feel scary. But intentionally working with the seasons and the Wheel of the Year can teach us the inherent goodness in every season, and the necessity of each point in the year. Without the fall and winter dying season, there can be no space for growth in spring and summer.
Without the pruning and reevaluating of the dying season, the growth season brings overwhelm and lack of focus. Without the shadow work fall and winter invite in, spring and summer feel shallow — love and light with no substance. Working with ritual is a beautiful way to honor this sabbat. Scroll down to explore some rituals to inspire your practice for this sacred day and season.
Gratitude Ritual
Often referred to as the Witches’ Thanksgiving, Mabon is thought of by some as a second harvest time. A time to reap what you have sowed, and enjoy the fruits of your energy with those you love.
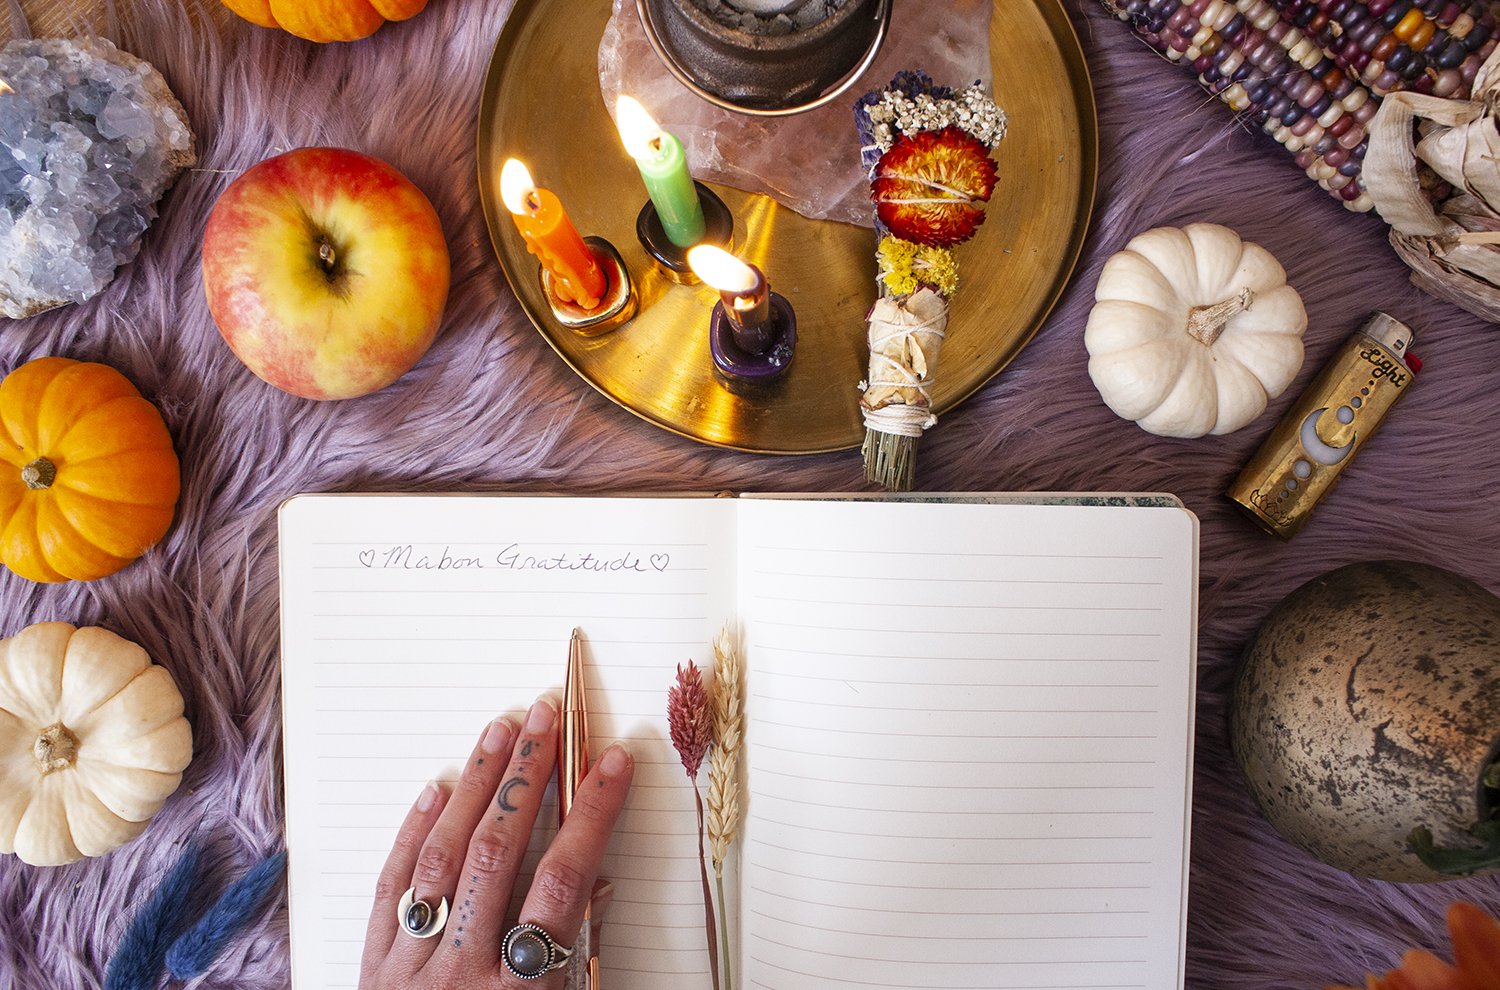
This gratitude ritual is inspired by this aspect of Mabon. All you’ll need is a candle in a color that connects you to gratitude, a piece of paper and a pen. You can make this fancier if you’d like by rolling your candle in oil and herbs (here are a few gratitude herbs shared by Yoga International to check out), but it’s definitely not a requirement.
Ground yourself and spend some time reflecting on the question: what are you grateful for? Think back throughout this whole year, perhaps since the last fall equinox, and free-write everything you can think of on your paper.
Maybe there’s even enough time and space from some of the harder things of the past year to find some gratitude in them (or maybe not, and maybe there never will be, and all of that is okay, too!).
When you feel complete with your list, light your candle and start reading aloud everything you’re grateful for. Take a breath and pause with each item to really feel the gratitude move through your body, to consciously connect with this energy. Depending on how long your list is and how you’re feeling, you might read your list a few times.
Then, raise energy in a way that feels joyful to you - it could be dancing, shaking your whole body, laughing, or anything else that feels good to you! Let gratitude soak into your cells. Let it infuse your body with love. When you’ve felt the energy shift, burn your gratitude list on your candle and offer up a little gratitude prayer that feels good to you — I like something simple like, “thank you, more please!” to share my gratitude and offer to the Universe that I’m open to receiving more things to be grateful for.
Let your candle burn out, or burn it for the next few days and sit in a short gratitude meditation each day while you do.
Make an Altar
Making a seasonal altar is a lovely and tactile way to honor any season. To make your altar, ask yourself: what textures, scents, images, archetypes, symbols, and items evoke a feeling of autumn for you?
Check out this video from our Instagram page for tips on resetting your altar for the seasons.
Here are some suggestions to inspire your practice, but I highly recommend letting your altar creation be intuitive:
Sticks and/or leaves from the land near you
The High Priestess tarot card, symbolizing Persephone’s descent into the underworld
Local seasonal fruits and vegetables like apples, grains, and squash as offerings for ancestors
Autumnal colored candles — brown, red, orange, and/or yellow
Pomegranates, which also symbolize descent into the underworld
Try to be as present as possible while creating your altar to really sink into the space you’re creating. After you’ve set up your altar, try spending a few moments meditating on the themes of Mabon and intention of this holiday.
Ritual to Descend into Darkness
This ritual is to be done outside at sunset (if that’s possible for you, if not, you could change it to be inside and view the sunset through a window) on the fall equinox.
Set yourself up for a pleasurable and safe sunset viewing experience, whatever that means to you! If it’s chilly, maybe you need a sweater and thick socks. Maybe you like to have yummy snacks and a drink, or a journal to write a poem about the sunset beside you. It’s up to you!
Watch the sunset and try to be as present as possible. Notice how the sun’s energy makes you feel, and how that might shift as the sun continues to sink lower and the colors change across the sky. As the sun sets, offer gratitude to the sun for its life-giving energy.
Sink into the darkness, and try to be as present as possible with it, too. Notice how your energy and the sensations and feelings in your body shift with the darkness. Ask yourself: what are the gifts of this darkness? What’s the medicine, the magic? Notice what you hear, smell, see - maybe it’s bugs singing, the stars in the sky, a smoky scent of someone’s backyard fire pit.
Speak words of love and praise aloud to the darkness. Share what you love about it. What you’re ready for. What calls to you about the darkness. If you feel called, leave an intuitive offering out for the darkness — food, a poem, a painting, a flower, anything that feels good to you.
Close your ritual with a few deep breaths, and spend some time journaling after to process your experience.
Happy Mabon! Sending you lots of love and wishes for a nourishing fall season from team Cassie Uhl. Find more rituals for Marbon here.
3 Ways to Understand the Health of your Chakras
When it comes to working with chakra energy, one of the first questions I receive is how to know if your chakras are blocked. Like all things relating to energy work, there are a variety of ways to approach working with your chakras.Before we dive in, the most important thing for you to understand is how you receive extrasensory information. I dive deeper into this topic in a past blog post here. If you don't know what kind of "clair" you are, I suggest you give it a quick read. You can also check out a graphic I created below for some of the most common clairs.
When it comes to working with chakra energy, one of the first questions I receive is how to know if your chakras are blocked. Like all things relating to energy work, there are a variety of ways to approach working with your chakras.
Before we dive in, the most important thing for you to understand is how you receive extrasensory information. I dive deeper into this topic in a past blog post here. If you don't know what kind of "clair" you are, I suggest you give it a quick read. You can also check out a graphic I created below for some of the most common clairs.
In this post, I'll break down why understanding the health of your chakras can be beneficial to you in everyday life and in your spiritual growth. I share three methods in this post, which you can apply to understand the health of your chakras and, in some cases, heal them.
Why would you want to understand the health of your chakras?
As above, so below. As within, so without. I refer to this adage often because it's so applicable to spiritual work. What goes on in your energetic body (auras and chakras) can also manifest in your physical body and vice versa.
Understanding the health of each of your chakras will shed light on your physical health, current life situations, future path, and where you may want to focus your energy.
Let's dig into some ways to start working with and understanding the energy of your chakras.
Understanding the Polarities of Each Chakra
Understanding the traits associated with each chakra will enable you to ascertain the health of your chakras quickly. This method can take a bit of time, especially if the chakras are new to you. You'll need to have a deep understanding of the polarities of each chakra. What I mean by this are the traits of each chakra when they're functioning optimally, and the shadow aspects of them as well when they're blocked. The expression of each chakra can range from overly open, balanced, to totally blocked, or somewhere in between. I discuss this more in this video.
Here's an example of how this technique can be applied. Have you ever felt overwhelmed and like you can't focus? These are all manifestations of a blocked or stagnant root chakra. The root chakra is responsible for your sense of safety and connection to the earth. If you're feeling this way, the next step would be to take action to activate and balance your root chakra. This could mean simply taking a break to go for a walk outside or performing a quick root chakra meditation.
Here are my top suggestions to gain a better understanding of the polarities of each chakra.
If you want to dive into understanding the chakras right now, find blog posts on each of the chakras here: root chakra, sacral chakra, solar plexus chakra, heart chakra, throat chakra, third eye chakra, and the crown chakra.
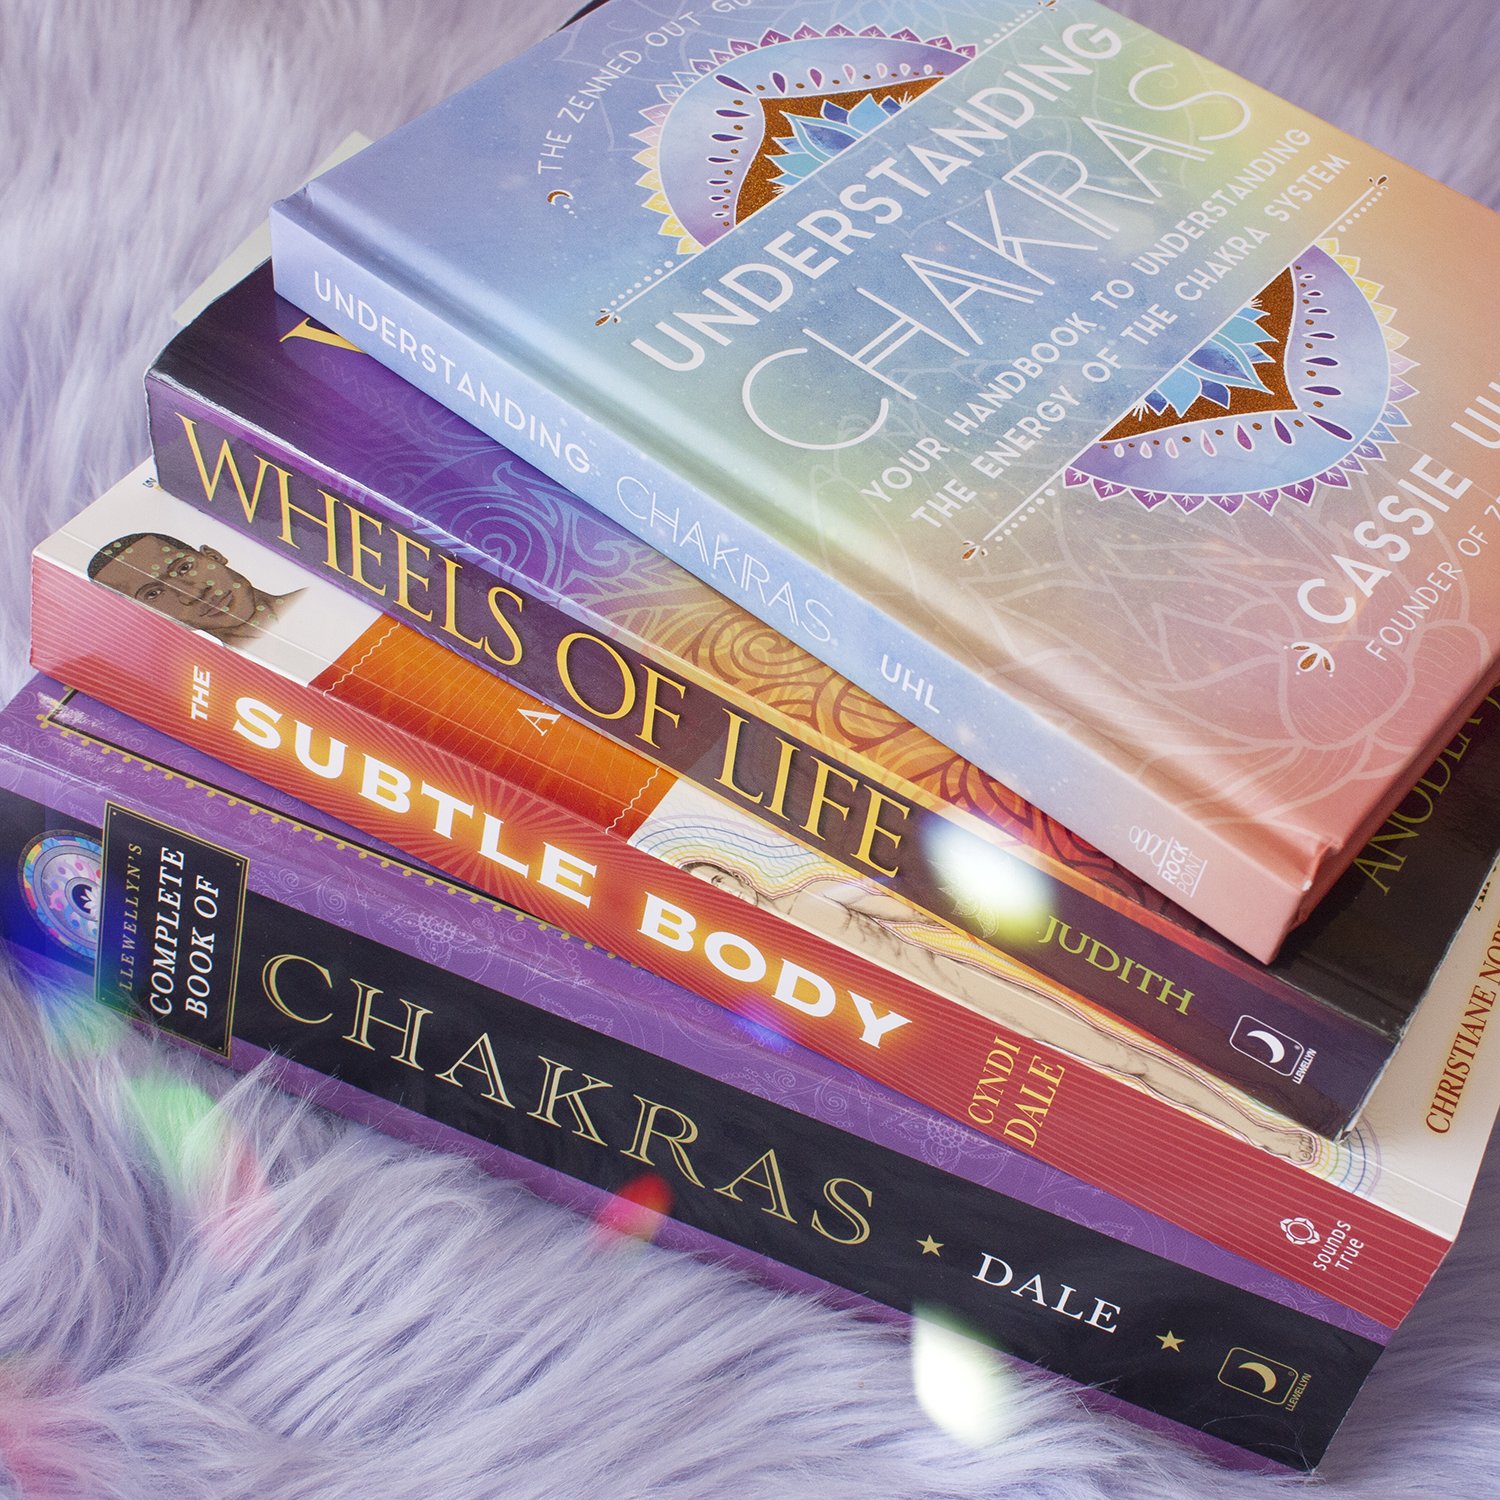
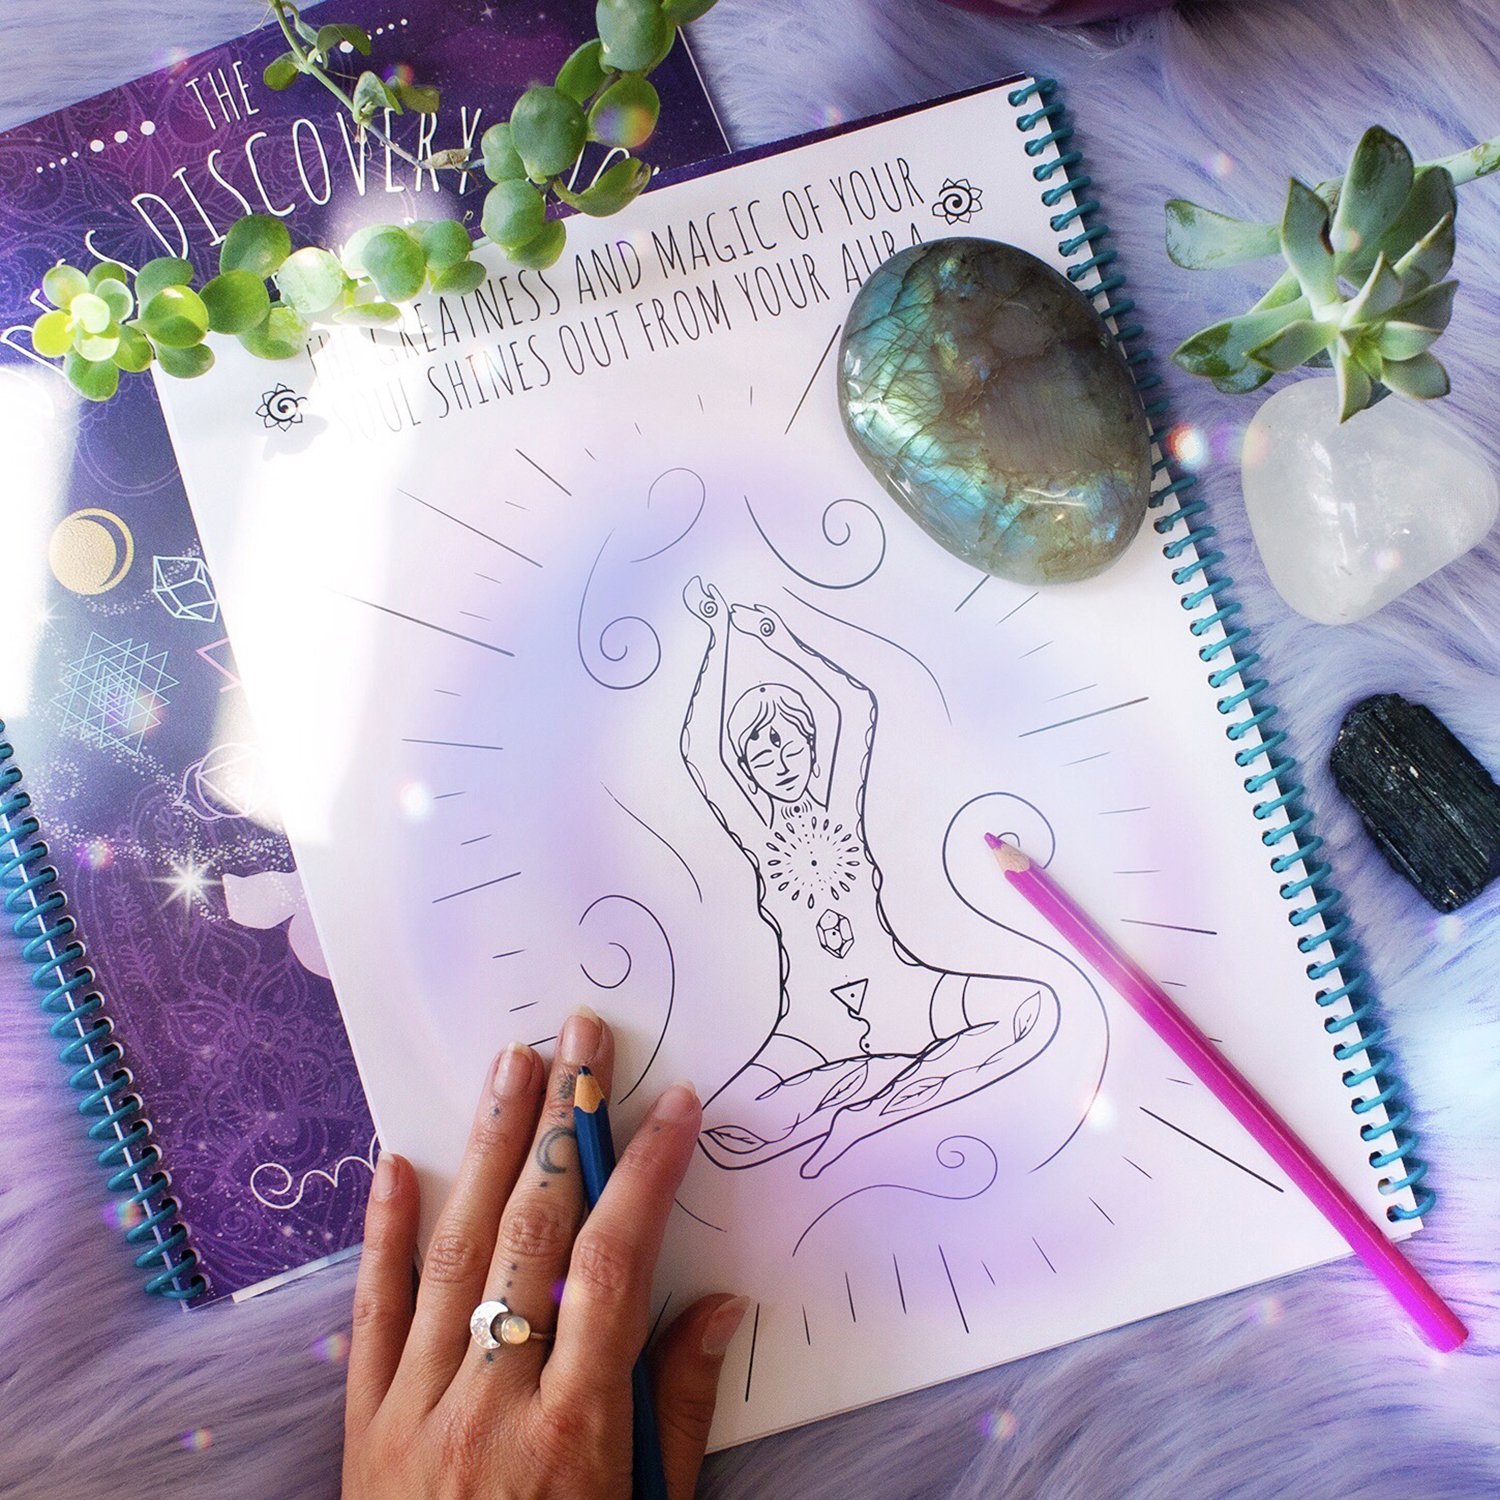
I also cover the chakras in The Goddess Discovery Book V1, The Ritual Deck, and in my new book Understanding Chakras. These are great options if you'd like ritual suggestions and tools to go along with each chakra.
For deep dives into understanding each of the chakras, I suggest Wheels of Life by Anodea Judith PhD and the Complete Book of Chakras by Cyndi Dale. I'm particularly fond of Dale's book as it offers information on chakra systems from around the world.
Feeling Chakra Energy with your Hands
If you consider yourself clairsentient and feel energy easily, this technique will work well for you. Even if you're not clairsentient, I encourage you to try, as anyone can learn and acquire new kinds of psychic abilities!
Your chakras are spinning wheels of energy, continually taking in and emitting energy. If you have the gift of clairsentience, you'll be able to feel this energy coming out of your body. I share the best way to get started with this technique in a previous post that also has a video breaking this technique down. Click here to check it out.
Essentially, you're going to want to get yourself into a meditative state, activate the chakras in your hands by rubbing them together and begin to hover your hands above where each of your chakras is. You may start to feel a bulge of energy push your hands out as you come near each chakra. How far the chakra comes out from your body can be an indication of how under or overactive it is. You may also receive information about the health of each chakra as you feel into each one.
Using a Pendulum to Work with Your Chakras
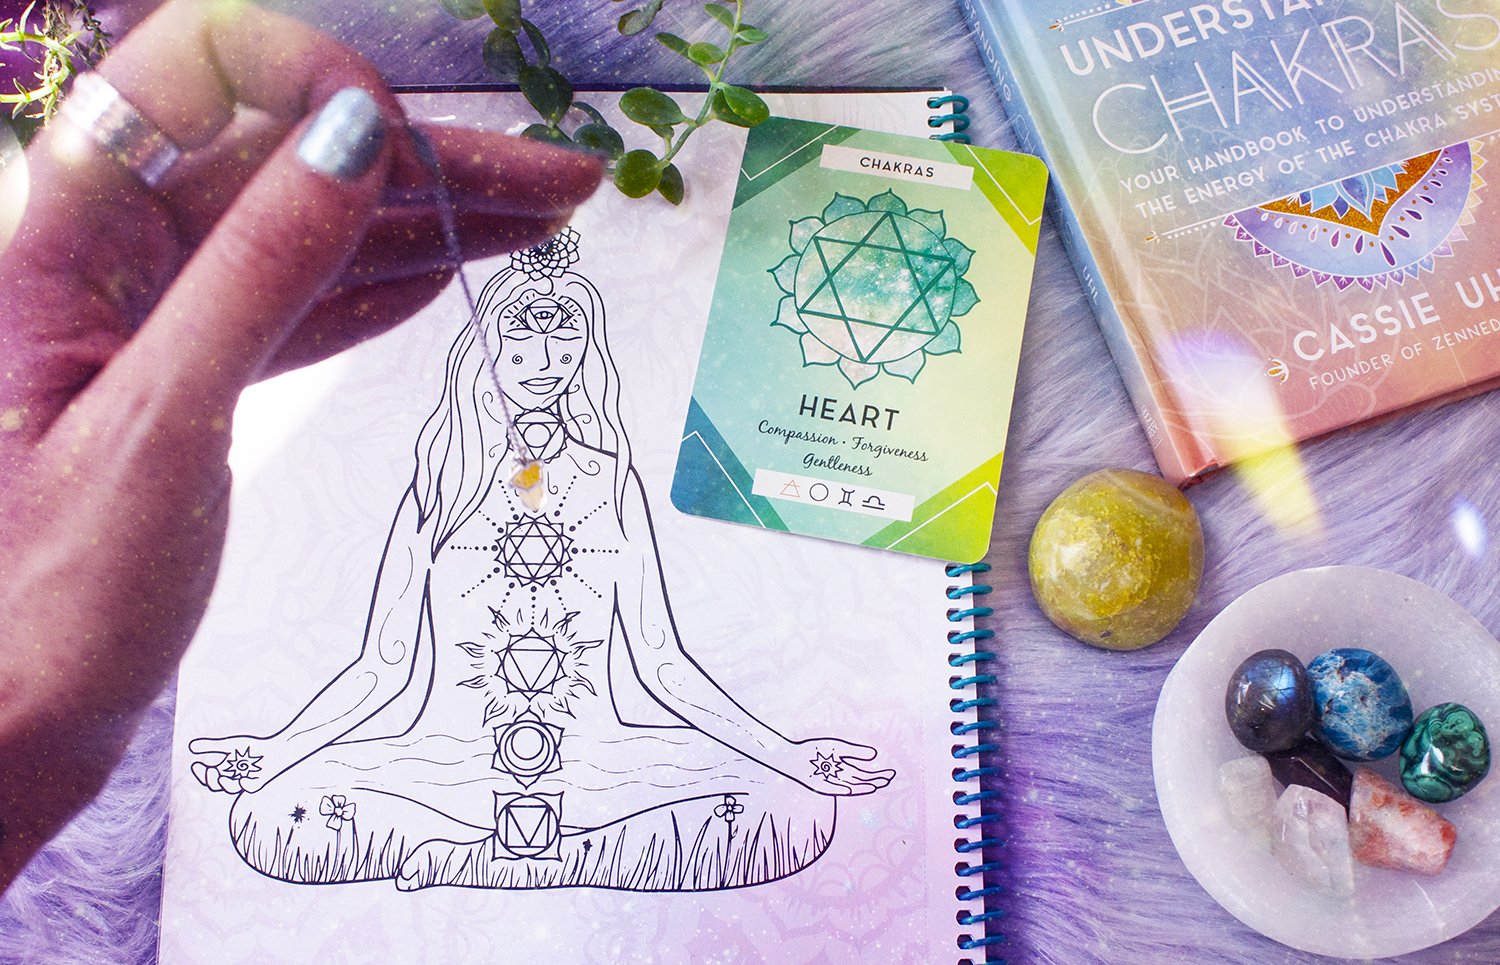
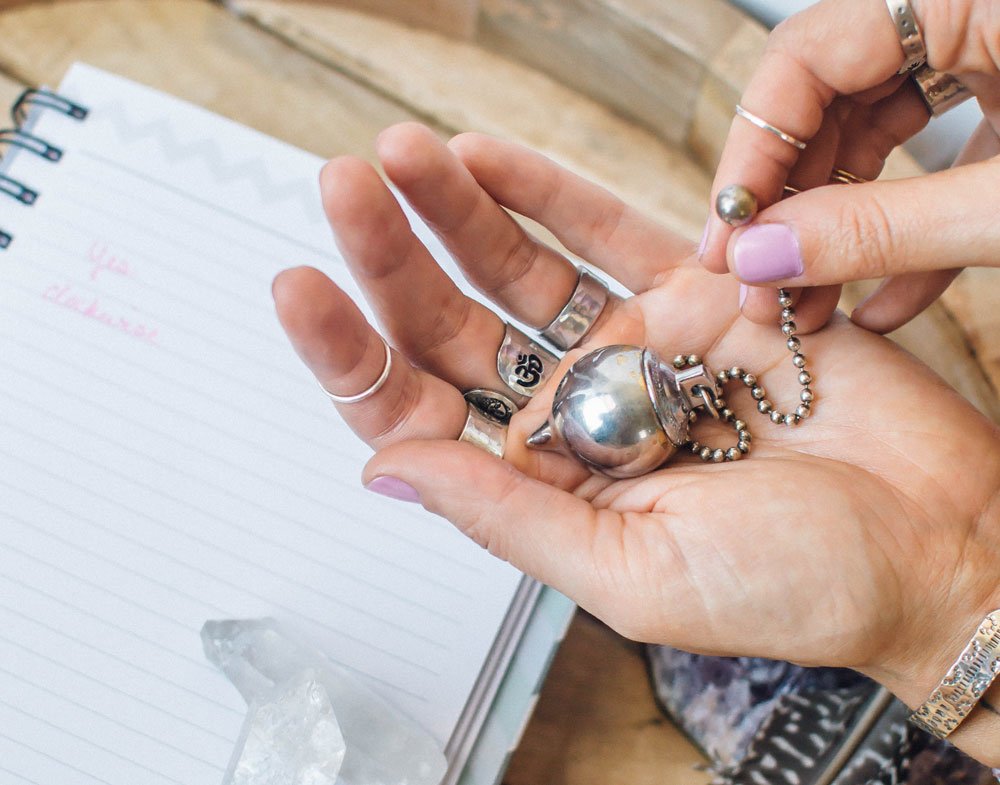
Pendulums are such a useful spiritual tool! If pendulums are brand new to you and you want to get the basics, check out this previous post here. There are SO many useful applications for pendulums, and understanding the health of your chakras is one of them. The technique I share here works well for doing chakra readings on yourself or others. If you're working on yourself or someone else remotely, you'll need a pendulum and a piece of paper or a drawing of someone with the chakras. You don't need anything fancy though and can even use a piece of paper with the chakras written down on it as a reference. Your pendulum won't know the difference! If you're working on someone else in person, all you'll need is your trusty pendulum.
Before you start, ensure that you have formed a good relationship with your pendulum. You must understand how your pendulum communicates with you. Generally speaking, a clockwise swirl means "yes" or "open," and a counterclockwise swirl means "no" or "closed."
How to check your chakras with a pendulum:
As with all spiritual work, take a moment to quiet yourself.
Call on any spiritual support you'd like (guides, angels, ancestors, etc.).
Hold your pendulum over each chakra and ask if the chakra is open or closed.
The pendulum should begin to swirl one way or the other, indicating the health of each chakra. It is possible that the pendulum won't move at all; check out this previous post I mentioned above for more on why a pendulum might not move.
Once finished, thank any spiritual aids you called on.
As always, run any information you received through your intuitive filter, and if it feels off, you don't have to act on it. If you feel like the reading you received from your pendulum is accurate, you can now take steps to work with any chakras that may be blocked, stagnant, or overactive.
The best thing about the pendulum technique is that after you've worked with a chakra that's a little off, you can retest with your pendulum. I'm often astounded at how quickly I'll get an open and balanced swirl from my pendulum after working on a chakra that needed some extra love.
Understanding the Energy of Virgo Season
Welcome to Virgo season! Our mutable Earth sign, this archetype is here to bring us through the portal that is late summer into the fall.Whether you have Virgo placements in your birth chart or not, we’re all feeling into this energy during this season. In this blog, I’ll be sharing what Virgo is all about, the planetary and tarot associations of Virgo, and how to understand Virgo in your chart.
How to See & Experience Auras
Seeing doesn't have to be believing, especially when it comes to auras. My introduction to auras came by way of sensing my energy field with my hands. Here's the thing, everyone experiences extrasensory information (auras, energy, intuition, etc.) differently.How people experience extrasensory information is explained by the "clairs."
Seeing doesn't have to be believing, especially when it comes to auras. My introduction to auras came by way of sensing my energy field with my hands. Here's the thing, everyone experiences extrasensory information (auras, energy, intuition, etc.) differently.
How people experience extrasensory information is explained by the "clairs." To understand some of the most common clairs and to determine what your extrasensory gifts are, click here for a past post I shared. You can also learn even more about the clairs and auras in my new book, Understanding Auras.
In this post, I'm going to share three ways for you to experience auras. If one doesn't work for you, don't worry about it! It doesn't mean that auras aren't real or that you can't access them; it means that you need to try a different approach.
Keep scrolling for three different techniques to experience auras and a video from me to learn more!
Feeling Energy & Hand Scans for the Aura
Did you know that you have chakras in your hands? Chakras are spinning energy centers that can, among other things, receive energy. You have seven primary chakras that align along your spine, but there are far more chakras, but that's a post for another day! Activating and accessing the chakras in your hands is an easy technique to sense the energy of auras.
To perform this aura sensing technique, you'll need about 20 minutes of dedicated quiet time.
Steps:
Take 2-5 minutes to center yourself. Focus on your breath or meditate for a bit to drop into the present moment.
Begin to bring your awareness to the sensation of the air touching your skin.
Start to rub your hands together. Do this for about 20-30 seconds.
Stop rubbing your hands together and slowly move the palms of your hands apart by about a foot. Then slowly move your hands back together.
You may start to notice some sensations in between your palms. It might feel like you have an invisible ball in between your hands or like a tingling sensation on your palms. Be open and try not to doubt any sensations you receive.
If you are feeling some energy in between your palms, I encourage you to begin running your palms over your body to see what you can sense in your aura.
If you're not feeling anything, don't worry about it. Try again tomorrow; if you still don't feel anything, you might experience energy differently.
This technique will work best for those with the gift of clairsentience or clear feeling, but I recommend everyone try it out! Check out this video for more on sensing and seeing auras.
Seeing Auras
Ahhhh, the holy grail of auras! Everyone wants to see the rainbow of colors around people. Some people are born with a natural ability to see auras, but most of us will have to practice. Take it from me; I've been practicing seeing auras since my teenage years. To this day, my preferred method to work with auras is by feeling energy and my intuition. I can see auras, but it takes far more effort.
You'll need:
20-30 minutes of uninterrupted quiet time
A neutral-colored blank wall
Patience
If possible, an aura buddy to practice with
Steps:
Hold your hand out at arm's length in front of you with a backdrop of a blank neutral colored wall. Alternatively, if you were able to wrangle an aura buddy, have them stand about a foot away from the wall, and then you can stand about 4-6 feet away from them.
Try to relax your eyes.
Focus on the space around your hand or your model, but still close to the body, almost like you're looking through the body.
If you're able to see anything, it will likely be the etheric layer of the aura, which usually presents as a white, grey, or light blue band of light around the body that's usually about 1-2 inches thick.
Take breaks often, try to adjust your focus in different ways if it's not working, and go easy on yourself. THIS. TAKES. PRACTICE.
These are just the basics, for more on this topic, I suggest my new book. This technique works best for those with the gift of clairvoyance or clear seeing.
Find all buying options for the “Understanding” series, including Understanding Auras, here.
Sensing the Aura with Your Intuition
This last method works well for all of the clairs! If you've struggled to connect with your aura using either of the two methods above, try this.
To perform this aura experiencing practice, you'll need 20-60 minutes of uninterrupted quiet time.
Steps:
Take 5-10 minutes to get into a meditative state. You can practice some breathwork, do a guided meditation, or repeat a mantra. Whatever works for you to drop into a tranquil and meditative state. If you need some guidance, here's a post all about meditation.
Once you're in this state, ask aloud or within your mind for your aura to be revealed to you.
Wait, be patient, and be open to different kinds of information.
Information could come to you in a number of ways, depending on which of the clairs are strongest within you. For example, a clairaudient person might hear (aloud or in their mind) what color their aura is, a clairvoyant person might see their aura in their mind's eye, and a claircognizant person might suddenly know what color their aura is.
Trust the information you receive. If you are skeptical about the answer you received, try again another day and see if the same answer repeats.
If nothing is coming to mind, don't worry about it. Stay in meditation for as long as you'd like and be open to messages throughout the day. Information may come to you differently, or you might need to try again another day.
To learn more about auras, check out either of these blog posts, What is an Aura & What Does Yours Mean and 7 Tips to Protect Your Aura. You can also learn more in my new book, Understanding Auras. I hope you feel empowered to connect with your aura!
Breathwork Basics // Understanding & Getting Started with Breathwork
Breathwork has been practiced for centuries across many different cultures - Chinese, Jewish, the ancient Greeks, India, different tribes in Africa, and more - for healing, reaching ecstatic states, reaching states of extraordinary consciousness, self-discovery, and spiritual healing.My definition of breathwork is consciously working with the breath for healing. We breathe every day, of course, but often we’re breathing unconsciously. When I first found breathwork through yogic pranayama, it shocked me how powerful it was to breathe consciously.
Breathwork has been practiced for centuries across many different cultures - Chinese, Jewish, the ancient Greeks, India, different tribes in Africa, and more - for healing, reaching ecstatic states, reaching states of extraordinary consciousness, self-discovery, and spiritual healing.
My definition of breathwork is consciously working with the breath for healing.
We breathe every day, of course, but often we’re breathing unconsciously. When I first found breathwork through yogic pranayama, it shocked me how powerful it was to breathe consciously. Different breathwork patterns can bring up various things with you, offer varying levels of intensity, and creating a wide variety of effects.
In the book Holotropic Breathwork, author Stanislav From shares that the word breath can be translated to mean spirit or soul. In Latin, the word spiritus is used to describe the physical intake of air but is also the word for spirit.
Breath nourishes us on a physical level (we literally can’t live without it!), but for centuries different cultures have thought of breath a bit differently: as spirit, as life force.
In this blog, I’ll be sharing a bit about the benefits of breathwork, a few different styles of breathwork, and how to get started with a breathwork practice of your own.
BENEFITS OF BREATHWORK
One of the things I love about breathwork is how different every experience can be. With that in mind, here is a non-exhaustive list of some of the benefits I have personally experienced through breathwork and/or witnessed clients experience:
Unblock creativity
Open to your intuition
Open your heart
Heal trauma
Feel your feelings
Ground and drop into your body
Calm your mind
Relax
Release stress
Release shame
Clear stuck energy from your body
Experience joy, love, and pleasure
Connect with yourself
Connect with the Universe
Find a place of steadiness and peace within
Heal unhealthy patterns
Release fear
I’ll share about three different patterns of breath to work within the sections below, but please know that this is just a sampling of the many different breath patterns out there.
DIAPHRAGMATIC BREATHING
We start here with a simple but powerful breath, also known as abdominal breath or belly breath. I find this breath to be relaxing, grounding, and centering. It helps us get into the body and release stress and tension, making it a great meditative practice.
The intention of this breath is to breathe deeply in through your nose into your belly and exhale out of the nose or, ideally, the mouth.
Your belly expands with your inhale (because of the downward movement of your diaphragm) and contracts to your spine with your exhale (because of the upward movement of the diaphragm). Breathing into your belly really means that the lowest lobes of the lungs, somewhere we don’t usually breathe into, are being filled with breath.
This breath can be done lying down or sitting up, and I highly recommend placing one hang or both hands on your belly to really get a feel for the movement of the breath.
Try this breath out with five or ten rounds of inhales and exhales to start, then spend a moment noticing how your body feels. What sensations are present?
BREATHWORK
The style of breathwork I am trained in and facilitate is simply called breathwork and was taught to me by my teacher David Elliott. This breath comes from the pranayama tradition in India.
This three-part active breath is intended to move stuck emotional energy, and it’s the most powerful breath style I know to heal trauma, open your heart, and move energy. With that being said, it is a much more intense breath than diaphragmatic breathing and has a few contraindications.
For any breathwork, you’ll want to talk to your doctor if you have a condition or health issue you’re concerned about. For this breath specifically, talk to your doctor before practicing if you’re in your first trimester of pregnancy, have a history of seizures, experience retinal detachment, or have an aneurysm.
This breath can create a lot of sensation in the body, including vibration and tingling and/or numbness in different parts of the body. It can bring up memories, intense emotions like anger, and grief. Sometimes, folks will connect with a guide, or ancestor, or have another type of dreamlike experience.
To practice this breath, you’ll want to either lay down or prop yourself up - just make sure you’re fully supported in whatever way feels best to your body. When you’re ready, breathe in through your mouth into your belly, in through your mouth into your heart/high chest, and out through your mouth.
To try out this breathwork, start with just five minutes of breath followed by a few minutes of rest and integration. Or, check out the Zenned Out IGTV to breathe along with me in a short guided breathwork practice.
BOX BREATH
Box breath, or square breath, can help regulate the nervous system, lower blood pressure, improve sleep, and help you feel more relaxed - making it a great breath to practice when you’re feeling stressed or to relax before bed.
According to the Mayo Clinic, the slow holding of the breath “allows carbon dioxide to build up in the blood, which enhances the cardio-inhibitory response of the vagus nerve when you exhale and stimulates your parasympathetic system. This produces a calm and relaxed feeling in the mind and body.”
Box breath can be done sitting up (recommended) or lying down if needed. To practice, inhale slowly and deeply through your nose for a count of 4. Hold your breath for a count of 4 (this is internal breath retention). Exhale slowly through your mouth for a count of 4. Hold the breath out for 4 (this is external breath retention). So you’ll inhale for four counts, hold the breath in for four counts, exhale for four counts, and hold the breath out for four counts.
You can change the counts to match your lung capacity, perhaps working with a count of 3 for a lower capacity for 8 for a larger one. You may find that your capacity grows as you continue to practice, as well.
Try it out with four cycles of breath, then notice how you feel.
CREATE A REGULAR BREATHWORK PRACTICE
The most incredible thing about breathwork is that it truly allows you to become your own healer. It’s a body-based, self-healing practice that is quite accessible for most folks.
You now have three different styles of breathwork to work with - I recommend trying them all out, and seeing what feels best for you. Then, try committing to practicing that style of breathwork every day for at least a week for just a few minutes, journaling about how the practice made you feel after each practice.
If you’d like to learn more about breathwork, I recommend checking out my wonderful friend Jennifer Patterson’s book The Power of Breathwork.
Crystal Cleansing & Charging 101 // 8 Ways to Care for Your Crystals
Perfectly structured lattices of molecules repeat and layer until a crystalline structure begins to emerge. Crystals are the magical and living offspring of earth, heat, and pressure. Viewing your crystals in this way can help you sense their aliveness, at least it does for me.The perfect structures within crystals make them masters at storing and emitting energy. Because they’re so easily impressed upon, it shouldn’t come as a surprise that they will require energy maintenance, just like you and me.
Perfectly structured lattices of molecules repeat and layer until a crystalline structure begins to emerge. Crystals are the magical and living offspring of earth, heat, and pressure. Viewing your crystals in this way can help you sense their aliveness, at least it does for me.
The perfect structures within crystals make them masters at storing and emitting energy. Because they’re so easily impressed upon, it shouldn’t come as a surprise that they will require energy maintenance, just like you and me.
Aside from honoring your crystals as the entities that they are, charging and cleansing them will also make them more useful. Like all energy beings, your crystals may hold onto unintended frequencies or could be charged with energy that’s not in alignment with your desires.
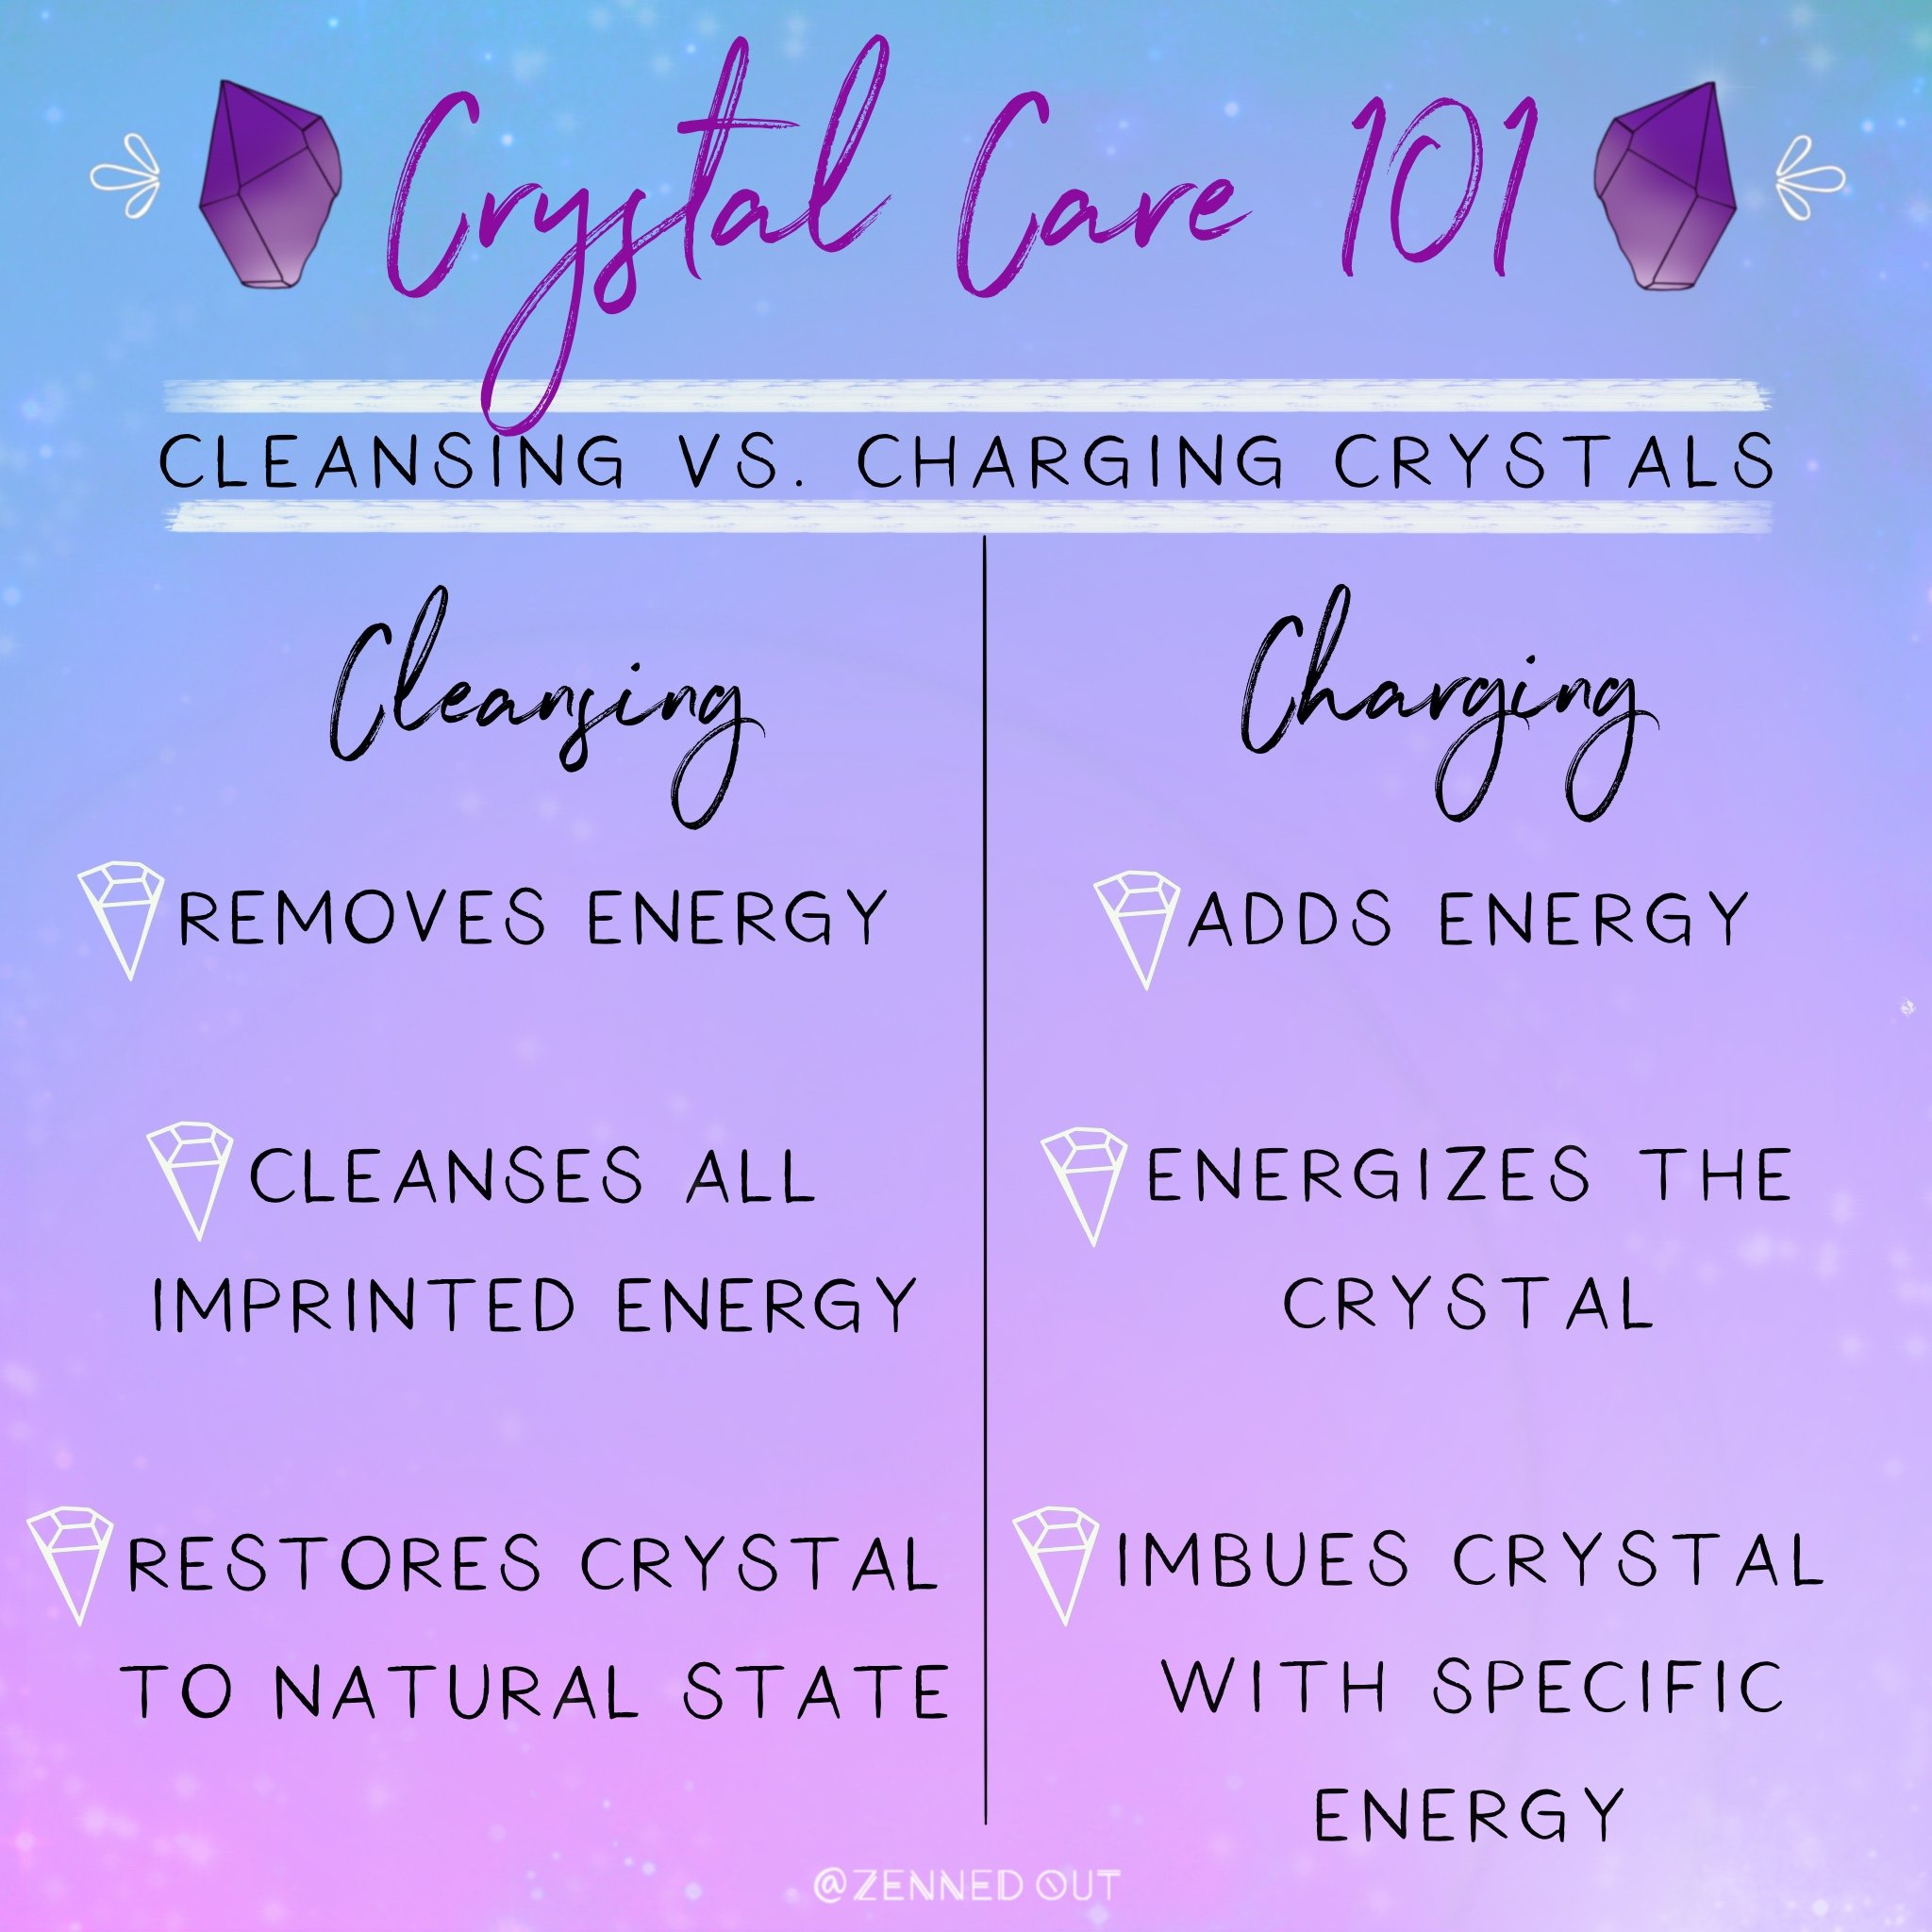
Before we dive into some actionable steps for crystal care, I’d like to pull apart the differences between cleansing and charging. Even though these terms are often used interchangeably, they are entirely different facets of crystal care.
Here's a breakdown of the differences between crystal cleansing and charging.
Now that you understand the basic functions of cleansing vs. charging crystals, let’s dive into some steps you can take to care for your crystals.
These suggestions are by no means an exhaustive list of ways to cleanse and charge your crystals! Learn more in my new book, The Zenned Out Guide to Understanding Crystals. I also recommend you run everything through your intuitive filter and only practice what feels like a good fit to you.
Crystal Cleansing 101
Here are a few reasons why you might want to cleanse your crystals:
It’s new
You let someone else handle it
You no longer need to use it for a specific purpose
Your cleansing schedule can be as regimented or as intuitive as you like. You might decide to cleanse your crystals every time you receive or purchase a new one, or you can wait until the crystal feels like it needs cleansing. I lean towards the more intuitive method, but both are valid.
5 Ways to Cleanse Your Crystals
Direct sunlight for 10-20 minutes. This method works best with bright midday sunlight. Sun cleansing is one of the simplest and most effective cleansing methods. Caution: some crystals can fade in sunlight. Here are some of the most common ones: amethyst, citrine, celestite, and fluorite. Short periods in the sun, will be okay, but do not leave crystals susceptible to fading in the sun for more than ten minutes every few months.
Hold in running water for 2-5 minutes. Fresh running water from nature is ideal, but tap water will do in a pinch. Water from nature will require less cleansing time.
Bury in the earth for 1-5 days. The burying method is gentler, so it requires a bit more time.
Hold your crystal in cleansing smoke of your choice. Frankincense, lavender, rosemary, or even a cleansing incense will work.
Hold your crystal in your hand and call upon your guides, ancestors, and angels (or any other force you connect with) to cleanse your crystal. Visualize a white or rainbow light enveloping your crystals and cleansing away any unwanted energies.
Crystal Charging 101 Here are a few reasons why you might want to charge your crystals.
You want to use it for a specific purpose.
You feel as though it has lost its effectiveness.
You feel intuitively nudged to charge the crystal or feel as though the crystal is requesting to charging in a specific way.
You don’t have to charge your crystals to work with them, but it will undoubtedly enhance their effectiveness and increase your connection with your crystals. There are similarities between the techniques used for cleansing and charging; the most important distinction is that charging is adding specific energy to your crystal. There are a variety of ways to do this, but understanding your intention is critical.
3 Ways to Charge Your Crystals
Place your crystal under the light of the moon phase of your choice for 1-2 nights. Working with the moon phases is one of my favorite ways to charge my crystals. Each moon phase has specific energy; you can learn more about that here. For example, if you’re working with a crystal to give you energy, you’ll want to charge it under the light of a waxing moon. The waxing moon is the growth phase of the moon and corresponds to action and energy. Alternatively, if you’d like to charge a crystal to help you rest, you’d want to charge it under the dark moon, which is a restorative moon phase.
Place your crystal in the morning or evening sun for 20-30 minutes. Our life-giving sun can be used for both cleansing and charging. I do suggest being mindful of what time of day you use the sun for either charging or cleansing. This method works well if you feel like your crystal needs a little boost of energy.
Charge your crystals with your hands. The heat and warmth of your hands alone are enough to charge up your crystals. Charging with your hands is an ideal method to use when you’re working with crystals for massage or bodywork. Hold or rub your crystal in your hands for 1-2 minutes for a quick charge.
I hope you feel empowered to start connecting with your crystals using these tools! Your crystals will thank you, and the more you connect with them, the better they’ll work for you.
You can dive much deeper into this topic in my new book, The Zenned Out Guide to Understanding Crystals. In this new book, I share how crystal energy works, how to program a crystal, and how to use crystal grids. This book also contains a fully illustrated crystal guide!
